Connection. Wellbeing. Belonging.
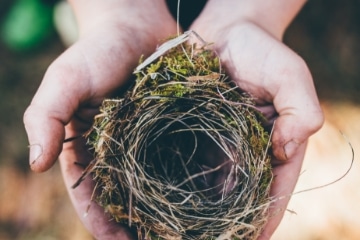
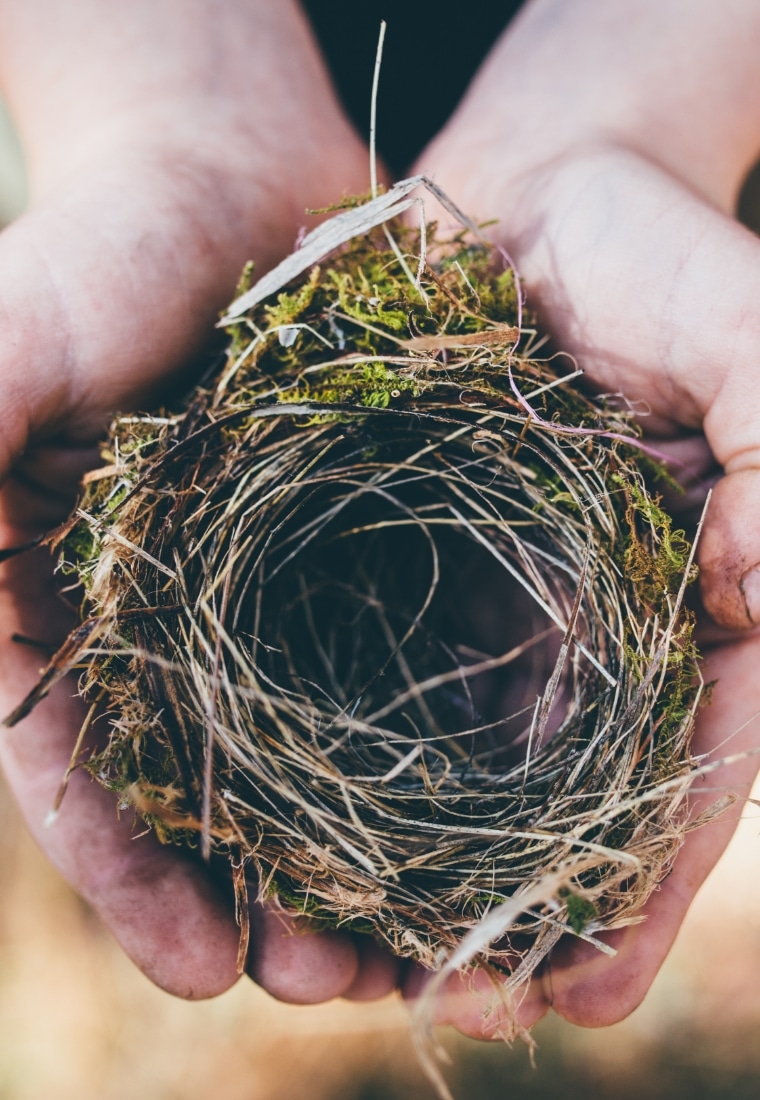
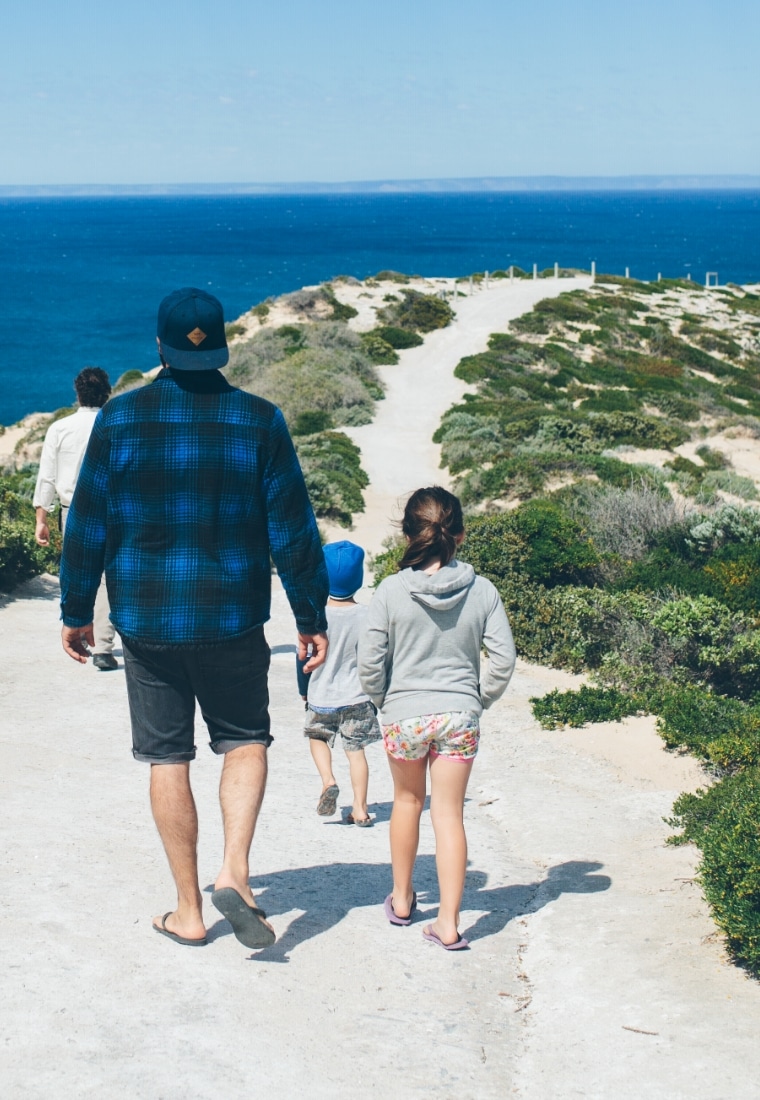
Supporting South Australians to engage with nature to enrich their lives.
Find Out More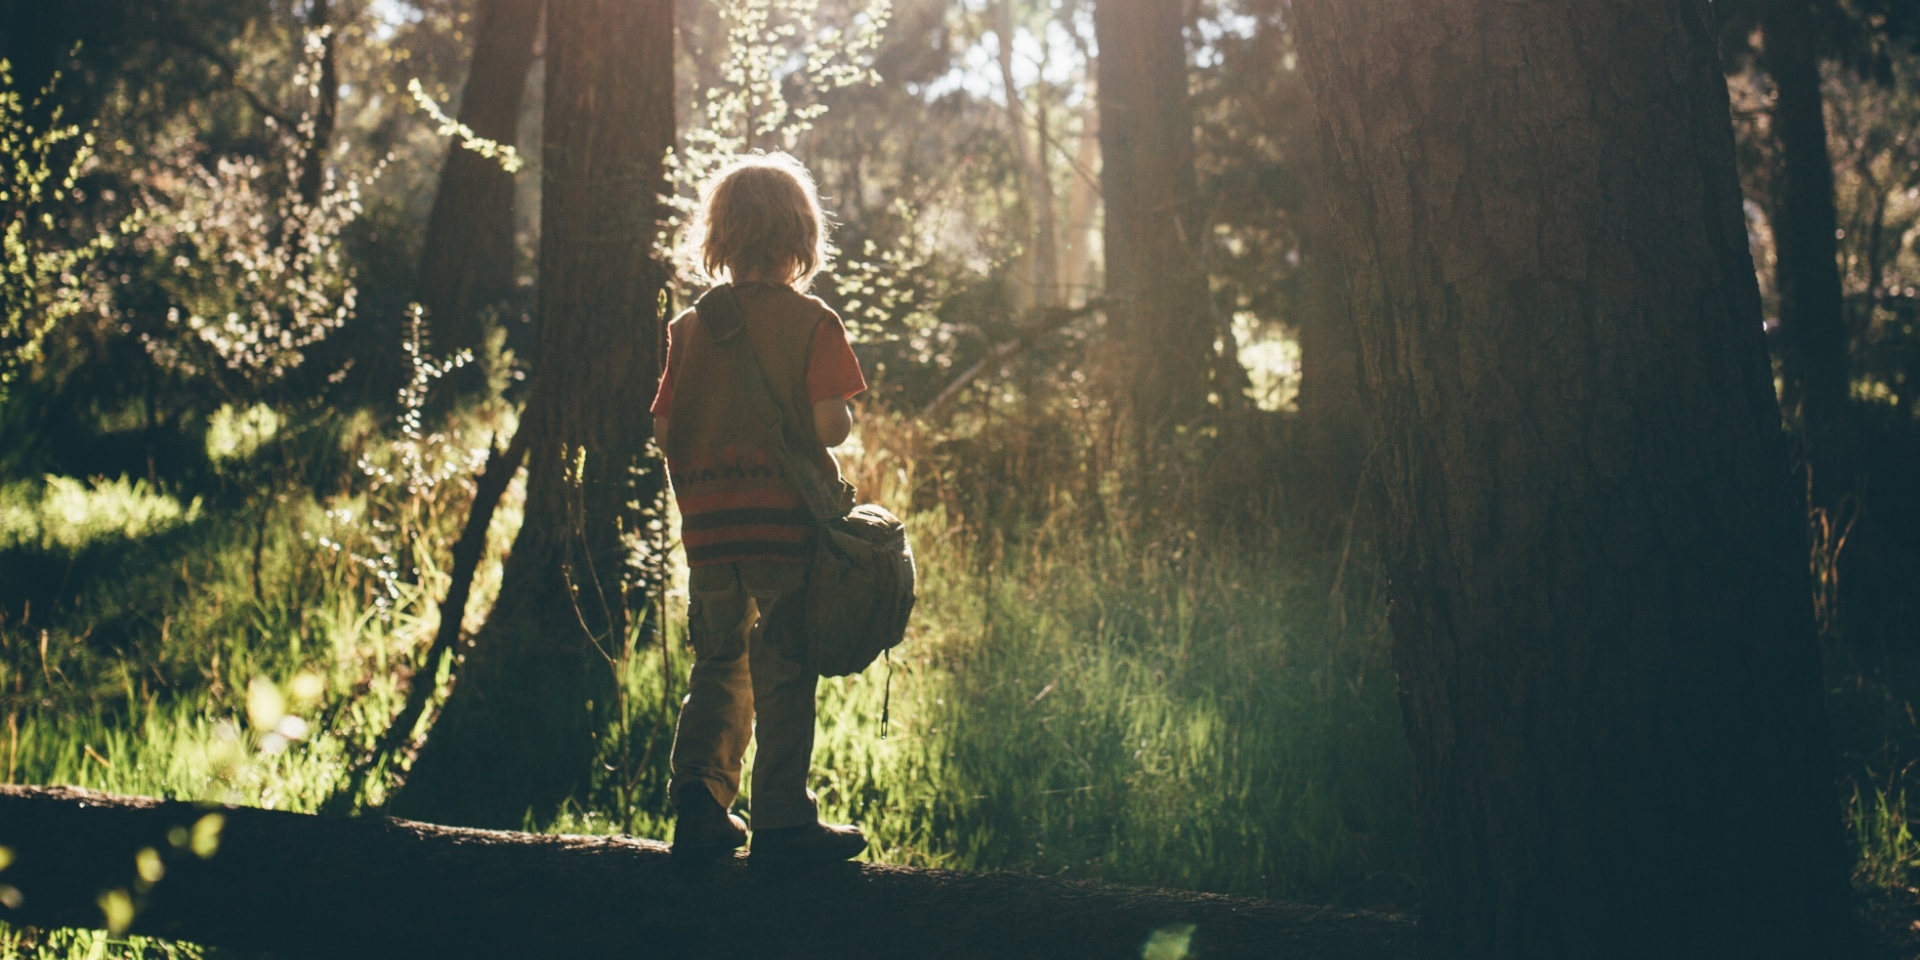
Supporting South Australians to engage with nature to enrich their lives.
Find Out MoreIt’s why, as a local not-for-profit since 2014, we’ve been helping South Australian’s—from homes to schools and even workplaces—tap into everything the outdoors has to offer.
Forest Festival is a thoughtfully curated celebration of children, nature, Aboriginal culture, the changing seasons and community. Tickets are selling fast!
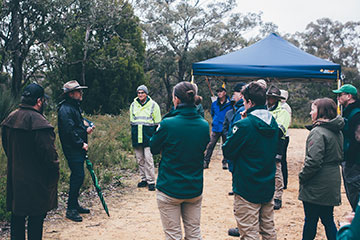
Join one of our free nature walk experiences to learn more about culture, wellbeing and our unique natural environments. Bookings required.
Embrace outdoor play in all weather with our vibrant waterproof onesies. Discount is available for bulk orders (10+).
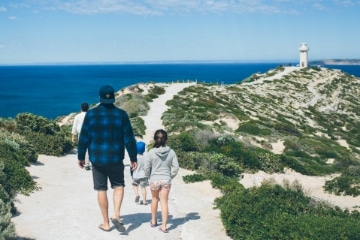
It’s not just about fostering fun, but also about strengthening our connection to the natural world through authentic experiences while nurturing our mental health and wellbeing.


Green Adelaide is a South Australian Government supported organisation that is working towards a vision of a cooler, greener, wilder and climate-resilient metropolitan South Australia. The Green Adelaide area spans from the hills to the sea, encompassing 17 metropolitan council areas and about 1.3 million South Australians. Nature Play SA is funded by Green Adelaide and contributes to Adelaide National Park City.

The Department for Education aims to ensure South Australia’s public education system can unlock every child’s potential now and in the future. Educators and staff work in partnership with families and communities to empower all children and young people with the knowledge, skills, and capabilities they need to become fulfilled individuals, active, compassionate citizens, and lifelong learners.

The Department for Environment and Water aims to help South Australians conserve, sustain and prosper. Their work in managing, conserving, and sustaining our environment and cultural resources is vital for the wellbeing of all South Australians.
Let’s connect! Our work sees us partner with all levels of government, business, and the not-for-profit sectors to change lives by strengthening our connection with nature.
Get in TouchDiscover new places to go, fun nature crafts, nature play events, and more…